
Honeycomb is a well known candy in Australia and in the UK. For many people it’s synonymous with a Crunchie or Violet Crumble chocolate bar. It’s not that popular here in the United States and most people don’t really know what it is or what it tastes like. It has a distinct almost burnt caramel flavor with a dry crunchy texture. Why do I like it? It’s an essential ingredient in the creation of Bills Ricotta Hotcakes with Honeycomb Butter. “Those hotcakes sound amazing.”, I hear you saying. Don’t worry, a blog post about those delicious hotcakes and said butter will arrive shortly. When I do get the urge for these hotcakes the inevitable question is “Where will I get the honeycomb from?” There are two options, each with pros and cons.
Option 1 – Buy a bunch of crunchie bars from the nearby supermarket or specialty grocery store and “extract” the honeycomb by shaving off the chocolate with a knife. Side note: Just wanted to give a shout out to my local deli/cafe/food store called Depanneur who stock crunchies. I’ve seen crunchies in lots of corner stores and supermarkets in New York these days. If you’re in NYC I’m confident that you can find it. Here are some photos of my handywork with Crunchie bars in the past.


- PROS – Low risk and can be a time saver.
- CONS – Waste of money plus these are chocolate bars so there’s a bit of effort involved in scraping off the outer chocolate layer to get what you’re after. Hmm, what would you do with all that delicious “unnecessary” chocolate I wonder? Now Bills recipe (for example) says that for a decadent treat why not use the crunchie bars as is but honestly it’s just too rich. Also, I want to re-create Bills dish. I don’t want chocolate honeycomb butter, I want honeycomb cutter.
Option 2 – Make it from scratch which is what this post is all about.
- PROS – You have the satisfaction of knowing that you created all components of your dish from scratch and you have lots of spare honeycomb candy lying around.
- CONS – High risk and multiple attempts may be necessary. Also, be careful when making your honeycomb. The sugar will get incredibly hot and will burn if not handled properly. Oh and your dentist is gonna hate you.
Ok. Let’s get cracking and make us some honeycomb.
There’s loads of resources online for how to make honeycomb. It’s even had some popularity via celebrity chefs like Nigella Lawson who has written about a Hokey Pokey recipe in her book Nigella Express. Apparently Hokey Pokey is the Cornish name for Honeycomb…Who knew? I’ve tried to make Honeycomb on a couple of occasions, some more successfully than others. From the simplicity of the recipes that you find online it looks like this is something that can be made pretty quickly with minimal fuss. I mean, as long as you know what you’re doing when it comes to heating up sugars at high temperatures you won’t have any problems, right? Wrong. Two out of the three instances where I decided I was going to make it, something went wrong. More often than not it’s because I let the sugar boil for too long. But really, it’s not my fault. I blame the recipes including the one I followed from About.com. When I chose to follow that particular recipe I thought to myself “Wow. This recipe is under the chemistry section of their site. It must be worth a shot. If I have science on my side I can’t go wrong.” Ok maybe I’m being too harsh. The recipe was actually fine, the part that just didn’t work for me was the waiting for the temperature to reach 300 degrees Fahrenheit. I waited and waited for that temperature to get to 300 but it just never got there. Next thing I knew the mixture had gone way past the amber color to more a dark dark brown burnt sugar mess that solidified into a solid as a rock dark sugar mess. I’m wondering if my candy thermometer is defective or perhaps I just wasn’t using it correctly? One thing I noticed was that even with a smaller saucepan the thermometer was not particularly well positioned in the pan.
So here’s the blow by blow of my two honeycomb attempts:
Attempt 1:
Not too many ingredients. Baking sheet greased and ready for a batch of honeycomb.

Heating sugar, water and honey together. Temperature is on the rise but not quite there yet.
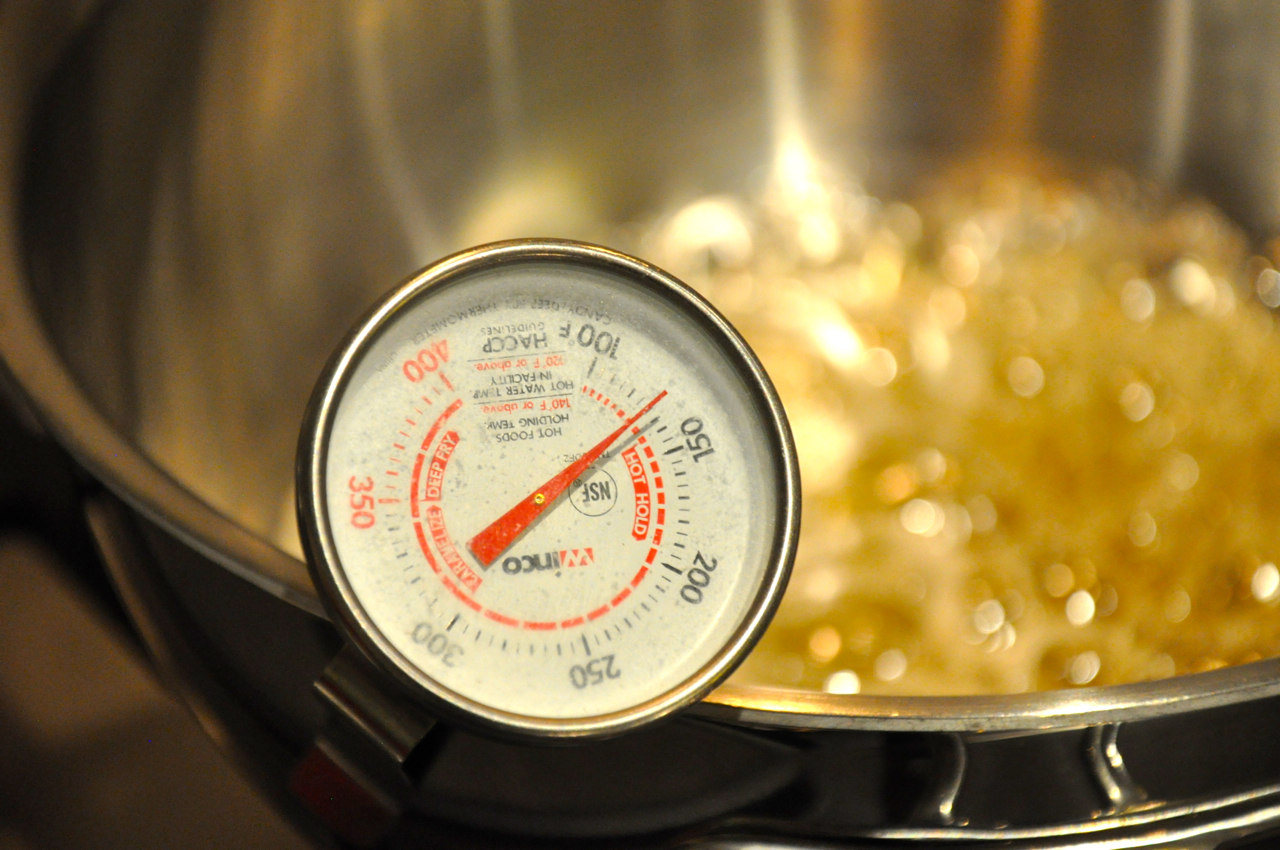
Waiting for that critical 300 degrees fahrenheit.

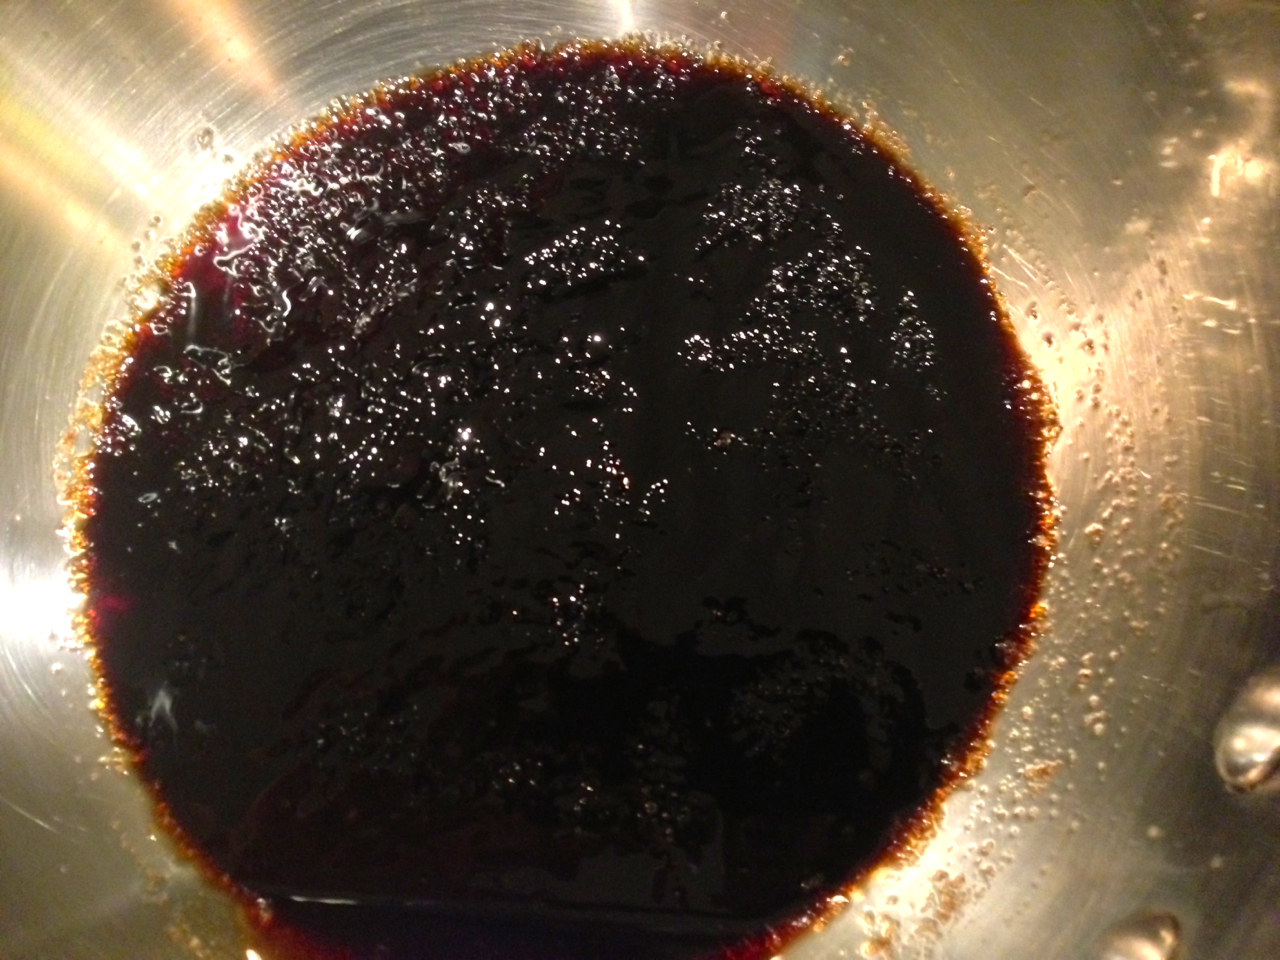
Still waiting….And….Failure…Just look at that dark burnt sugar mix. How annoying.
Attempt 2:
“Ok”, I told myself. “Don’t give up. You’ve maybe ruined one pot but you haven’t lost too much time. Pull out another pot from the cupboard and try again!” So try again I did. By the way, the pot cleaned up just fine. Lots of hot water and scrubbing and it was good as new.
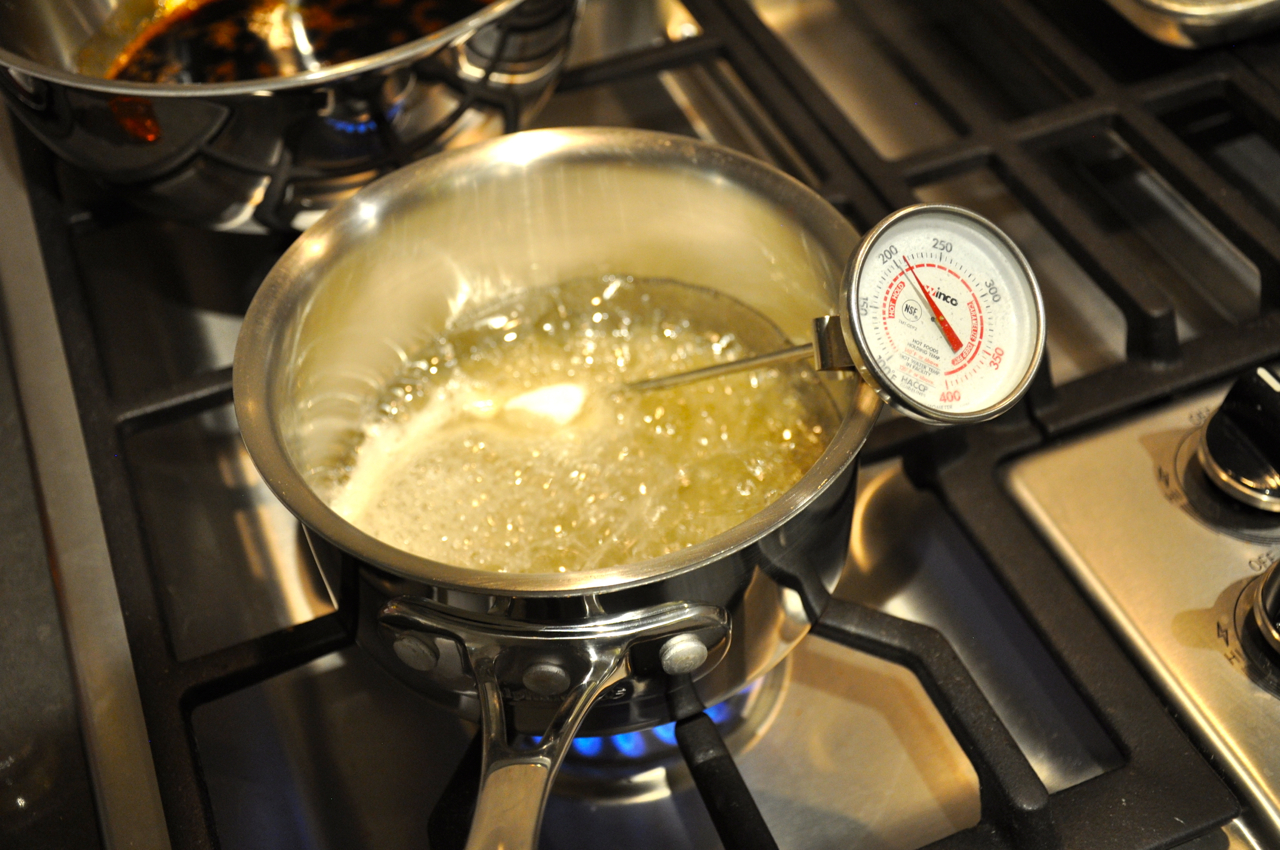
First we get those ingredients boiling together. This time I used a smaller pot and still tried out the out the candy thermometer to see if it was a problem with the pot.
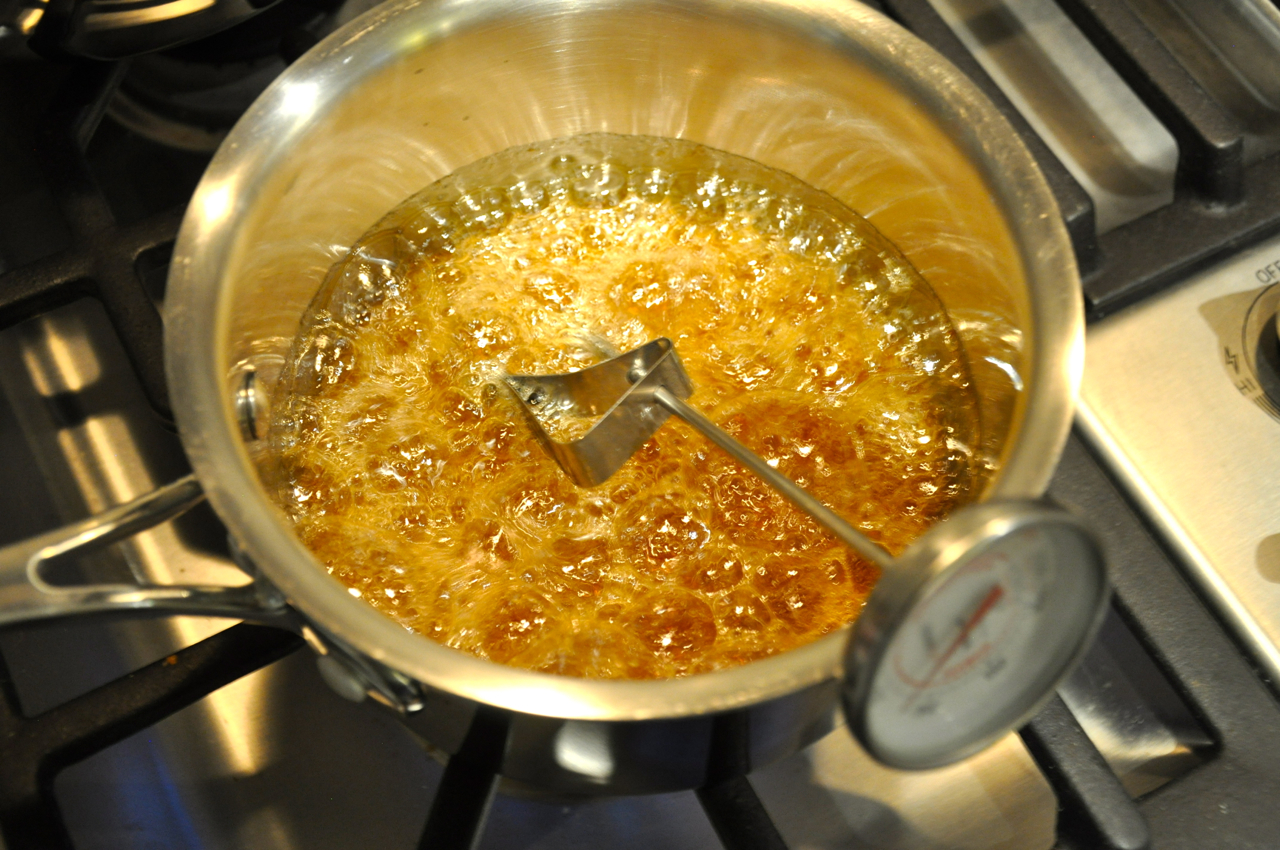
Who cares what temperature the thermometer things this liquid is at. It looks pretty amber like to me so let’s move on to the next step.
Off the heat, adding the baking soda and whisk whisk whisk. It’s happening. It’s really happening!
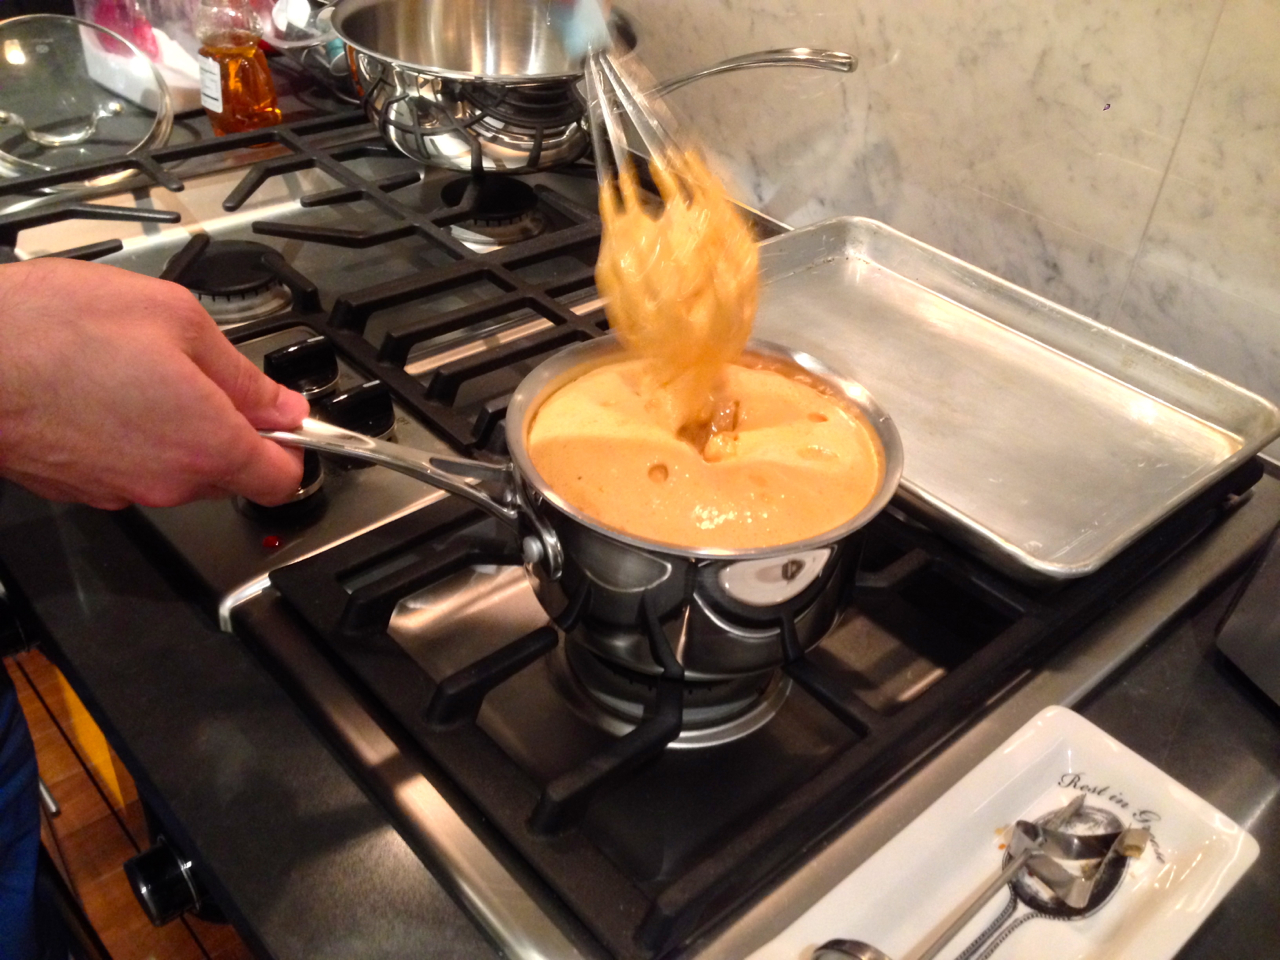
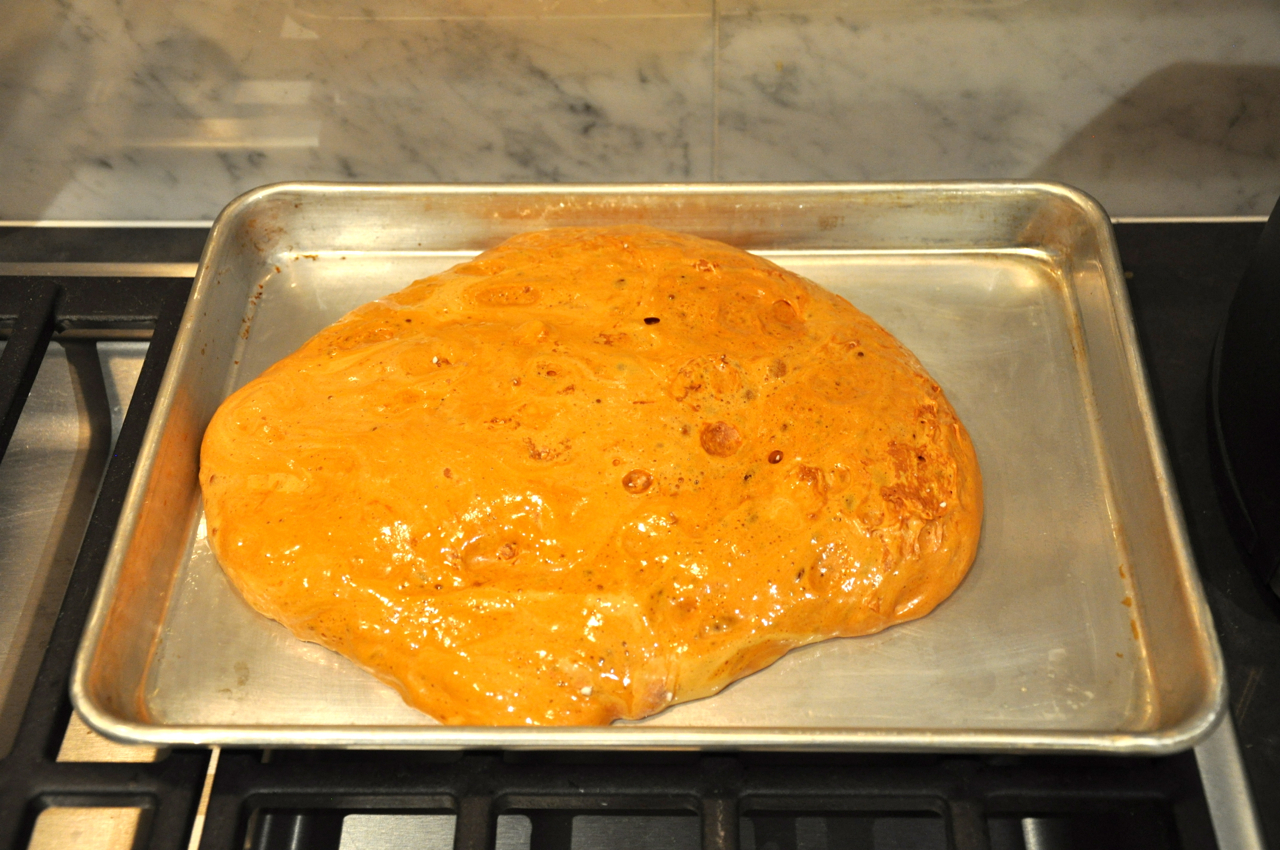
Pour into greased baking sheet and let it cool.
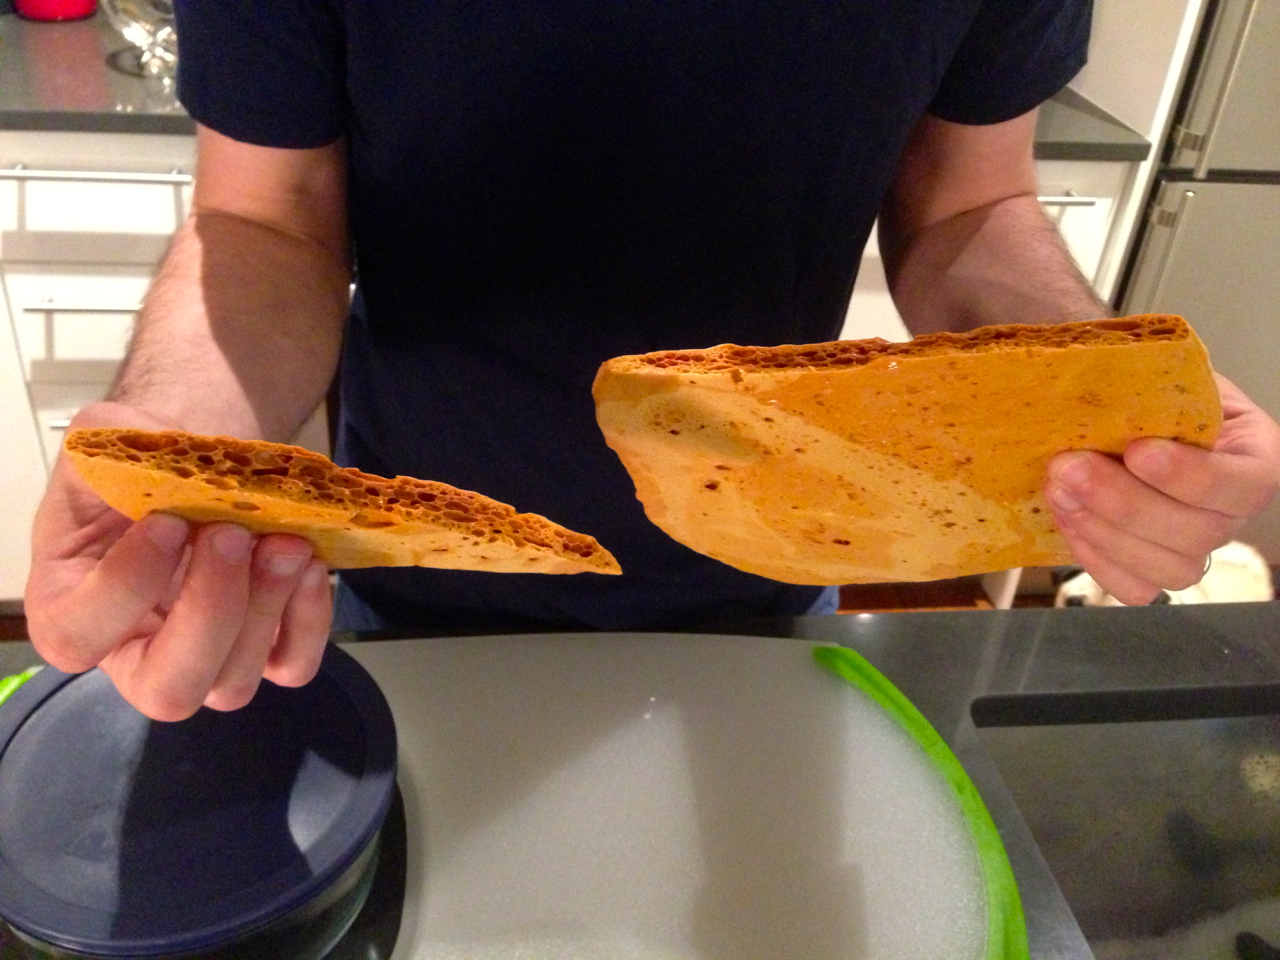
Success. Snapping honeycomb into smaller pieces.
Recipe – Honeycomb (based on Honeycomb Candy Recipe from About.com)
Note:
I’ve seen a bunch of recipes online, some call for golden syrup, light corn syrup, dark corn syrup. The one I used only called for honey, water and sugar. It might be worth experimenting with those other recipes but at least with this recipe you don’t need to rush out to buy anything you wouldn’t ordinarily have on hand. So long as you have some sugar and honey lying around, you’re good to go. If you need honeycomb as a key ingredient for a recipe and are a little wary of chemistry in the kitchen I’d recommend going with the crunchie bar options. But if you want to be brave, try something new and have a little spare time up your sleeve (for likely failure, regroup and second attempt) then go for it. Try making honeycomb for yourself. It’s kind of fun.
Ingredients:
- 3/4 cup sugar
- 2 tablespoons honey
- 2 tablespoons water
- 1-1/2 teaspoons baking soda
Directions:
- Grease a cookie sheet with butter.
- Add the sugar, honey, and water to a small saucepan. I used a 1.5 QT saucepan though a 2 quart pan may have been more ideal. You can stir the mixture, but it isn’t necessary.
- Cook the ingredients over high heat, waiting for the sugar to caramelize to an amber color.
- When the sugar reaches the amber color remove from heat and whisk the baking soda into the syrup. This will cause the syrup to foam up.
- Stir just enough to mix the ingredients, then dump the mixture onto the greased baking sheet. Don’t spread out the candy, as this would pop your bubbles.
- Allow the candy to cool, then break or cut it into pieces.
- Store the honeycomb candy in an airtight container.

Pingback: Pancakes Good, Hotcakes Better – Bills Ricotta Hotcakes With Honeycomb Butter | eatyeats
Pingback: Do the Hokey Pokey … Ice Cream that is | eatyeats
Pingback: Homemade Muesli with Apricots and Raisins | eatyeats